Product introduction:
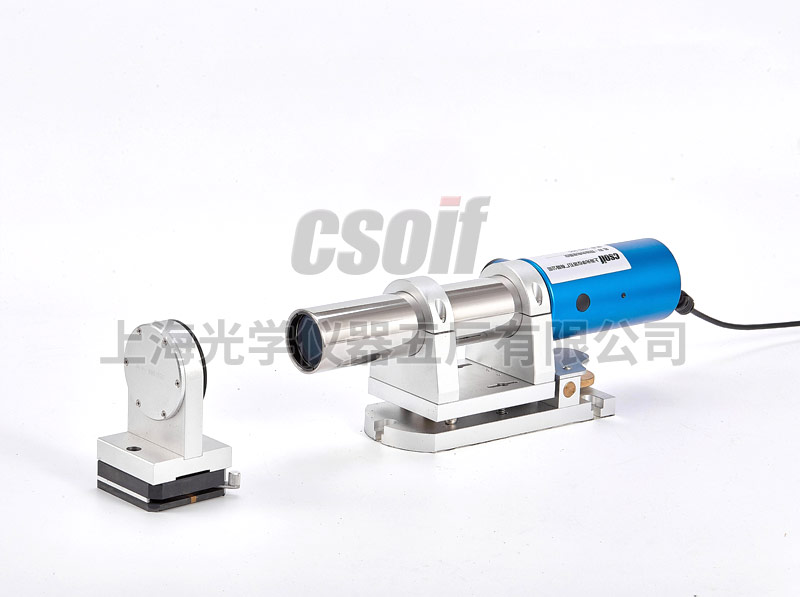
The dual-axis photoelectric autocollimator series products are an electronic autocollimator that combines electronic eyepiece technology, high-resolution image sensing technology and embedded digital image processing technology. Carry out measurement and provide high-precision measurement with 1 second, 0.5 second, 0.3 second and other accuracy. It has a series of advantages such as easy portability, high precision and high stability.
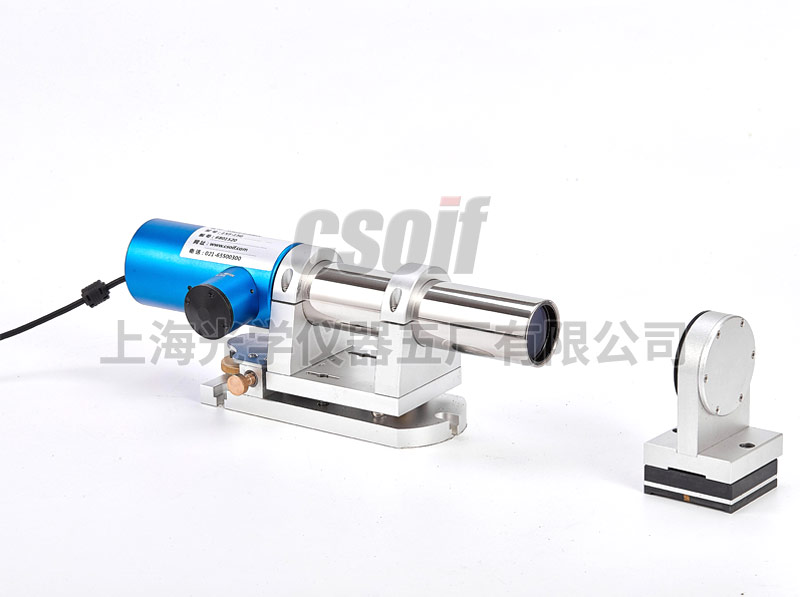
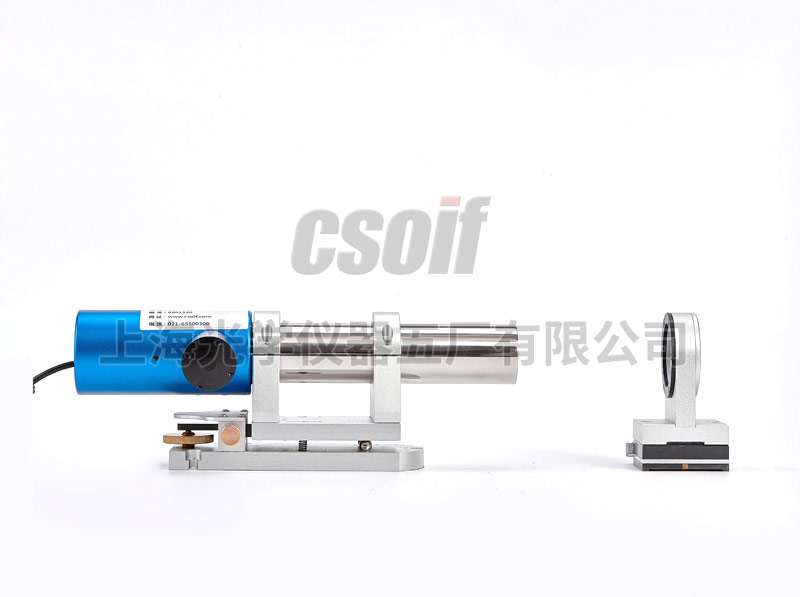
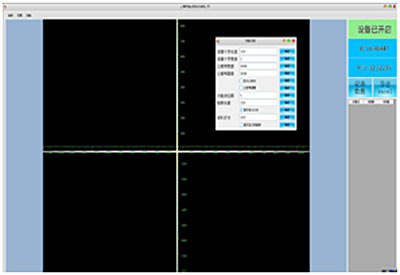
The dual-axis photoelectric autocollimator is composed of an electronic reading head, an objective lens tube, a base, a reflector, and a control and measurement software. The measurement software running on the display controller can display the electronic eyepiece and measurement data. The host adopts USB2.0 connection and adopts semiconductor LED light source for long service life. LED has a series of advantages of high luminous efficiency and low heat generation, and the data can be saved as Excel compatible format; the product adopts miniaturization design technology, which provides users with a cost-effective angle measurement and detection scheme. Users can complete dynamic measurement applications by matching other measurement accessories and measurement software, including high-precision measurement of angle, straightness, perpendicularity, parallelism, flatness, coaxiality, etc. It is an ideal substitute for traditional optical autocollimators such as precision machinery manufacturing, optical processing, and metrology laboratories.
Features:
☆ Simultaneous measurement of dual-axis X and Y, convenient and efficient
☆Real-time electronic eyepiece technology avoids human eye aiming errors
☆High-resolution photodetector to ensure measurement accuracy
☆Long life LED light source system, durable
☆A variety of measurement software and accessories to meet different measurement needs
☆ Automatically calculate the error, automatically describe the curve
☆Various precision and various specifications are available, suitable for various needs
typical application:
☆Precision mechanical installation and positioning
☆Precision guarantee of straightness, flatness, perpendicularity and parallelism of mechanical products
☆Precision rotary table detection
☆Assembly and adjustment of aerospace optical products
☆Physics and optics laboratory
Technical Specifications:
(series product 1 second)
| focal length | 150mm | 180mm | 200mm | 300mm | 360mm | |
| Clear aperture | 35mm | 50mm | 50mm | 50mm | 60mm | 70mm |
| light source | Semiconductor light source LED | |||||
| Measuring distance | 0-10M | 0-15M | 0-20M | 0-25M | 0-30M | 0-40M |
| detector | high resolution sensor | |||||
| Resolution | 0.1′ | |||||
| Field of view (X, Y) | 4600*3600′ | 3600*3000′ | 3200*2400′ | 2200*1800′ | 1800*1400′ | |
| Instrument Accuracy (Center) | ±100′±1′ | ±100′±1′ | ||||
| ±1000′ ±2′ | ±600′±2′ | |||||
| Data interface | USB2.0 | |||||
| computer system requirements | Requires computer WIN7 or above, 64-bit system; | |||||
| measuring system | Autocollimator Control Software V2.0 | |||||
| Instrument size
(L*W*Hmm) |
230*135*125 | 268*135*125 | 296*135*125 | 388*135*125 | 446*135*125 | |
(Series products 0.5 seconds)
| focal length | 180mm | 200mm | 300mm | |
| Clear aperture | 50mm | 50mm | 50mm | 60mm |
| light source | Semiconductor light source LED | |||
| Measuring distance | 0-15M | 0-20M | 0-25M | 0-30M |
| detector | high resolution sensor | |||
| Resolution | 0.1′ | |||
| Field of view (X, Y) | 3600*3000′ | 3200*2400′ | 2200*1800′ | 2200*1800′ |
| Instrument Accuracy (Center) | ±100′ ±0.5′ | ±100′ ±0.5′ | ||
| ±1000′±1′ | ±1000′ ±2′ | |||
| Data interface | USB2.0 | |||
| computer system requirements | Requires computer WIN7 or above, 64-bit system; | |||
| measuring system | Autocollimator Control Software V2.0 | |||
| Instrument size (L*W*H) mm | 268*135*125 | 296*135*125 | 388*135*125mm | |
(Series products 0.3 seconds)
| focal length | 300mm | |
| Clear aperture | 50mm | 60mm |
| light source | Semiconductor light source LED | |
| Measuring distance | 0-25M | 0-30M |
| detector | high resolution sensor | |
| Resolution | 0.1′ | |
| Field of view (X, Y) | 2200*1800′ | |
| Instrument accuracy | ±100′±0.3′ | |
| ±1000′±1′ | ||
| Data interface | USB2.0 | |
| computer system requirements | Requires computer WIN7 or above, 64-bit system; | |
| measuring system | Autocollimator Control Software V2.0 | |
| Instrument size (L*W*H) | 388*135*125mm | |
The standard configuration:
1. Host
2. Two-dimensional adjustable base
3. Standard mirror
4. Standard measurement software (including straightness module)
5. Data cable
6. Instrument case
7. Qualification certificate, warranty card, manual
Optional products:
1. Magnetic base
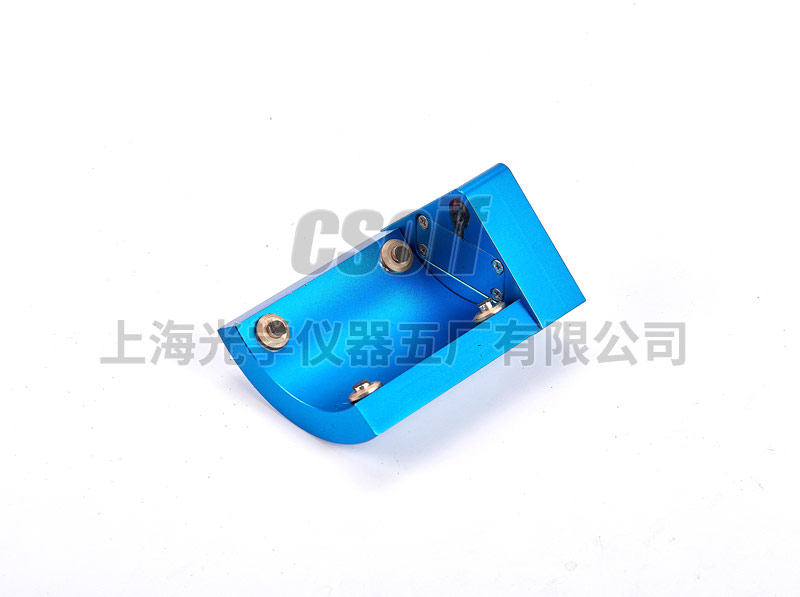
2. Optical right angle
3. Laser-assisted image finder
4. Metal faceted prism
5. Adjustable bridge plate (for measuring the flatness of the platform)
6. Precision tripod
7. Parallelism/perpendicularity error analysis module
8. Flatness error analysis module
9. Turntable error analysis module


