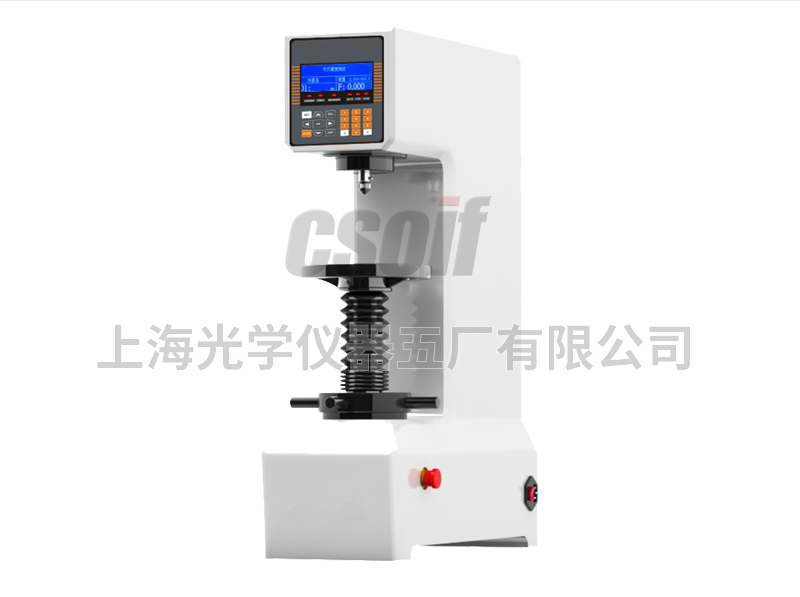
Features :
1. Equipped with precision sensors and CPU microcomputer control system, can automatically compensate, the test results are accurate and stable;
2, with 1Level 0 test force, which can test a wider range;
3. After measuring the indentation through the eyepiece, press the key to input the indentation length to directly obtain the hardness value, which improves work efficiency;
4. Equipped with a built-in printer, which can analyze and print the measurement data.
5. Equipped with high-performance stepper motor to automatically load and unload the test force, resulting in less noise during the test;
6. The shell is cast at one time, the structure is stable and not deformed, and it can work in a relatively harsh environment;
7. The surface is treated with car paint process, which has strong scratching ability and is still as bright as new after many years of use;
8. Brinell image measurement software is optional for this machine, which greatly improves work efficiency;
use:
It is suitable for hardness tester test of metal materials with large grains, which can reflect the comprehensive properties of materials;< span style=”font-family: arial, helvetica, sans-serif;”>cast iron, steel, non-ferrous metals, alloys especially for softer metals such as pure aluminum, lead, tin, etc.It can be used for the determination of the hardness of some non-metallic materials such as hard plastic and bakelite
technical parameters:
| Product Model | HBE-3000A | |||||
| Brinell scale | HBW2.5/62.5 | HBW2.5/187.5 | HBW5/62.5 | HBW5/125 | HBW5/250 | HBW5/750 |
| HBW10/100 | HBW10/250 | HBW10/500 | HBW10/1000 | HBW10/1500 | HBW10/3000 | |
| Test force | 62.5kgf(612.9N)100kgf(980.7N)125kgf(1226N)187.5kgf(1839N)250kgf(2452N)500kgf (4903N)750kgf(7355N)1000kgf(8907N)1500kgf(14710N)3000kgf(29420N) | |||||
| Load Control | Auto (load/hold/unload) | |||||
| Maximum specimen height | 220mm | |||||
| minimum unit of measure | 0.005mm | |||||
| Still time | 0~60s | |||||
| Hardness test range | 3.18~653HBW | |||||
| Total magnification | 20X | |||||
| Standard implementation | EN ISO 6506, , ASTM E-10-08, GB/T231.2, JJG150-2005 | |||||
| indenter-outer wall distance | 135mm | |||||
| indenter-upper wall distance | 55mm (the distance between the indenter and the upper machine wall can be increased by customizing the indenter)span> | |||||
| hardness read | After measuring the indentation through the eyepiece, press the key to input the indentation length to get the hardness value directly. | |||||
| Data output | Built-in printer, print content: test conditions, number of measurements, average value, maximum value, minimum value, maximum error, etc.< /span> | |||||
| power | AC220+5%,50~60Hz | |||||
| Dimension (mm) | 520*210*745mm | |||||
| Host weight | about 120kg | |||||
Attachment:
| name | number | name | number | ||
| Measuring microscope | 1 set | 2.5, 5, 10mm diameter carbide ball indenters | 1 of each | ||
| Standard hardness block | 3 blocks | Large, medium and V-shaped test benches | 1 each | ||


