

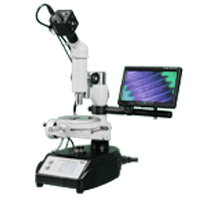

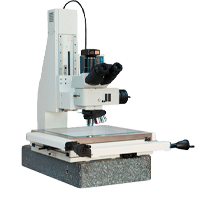
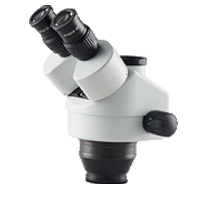
Features:
1. Easy to operate
2. video display
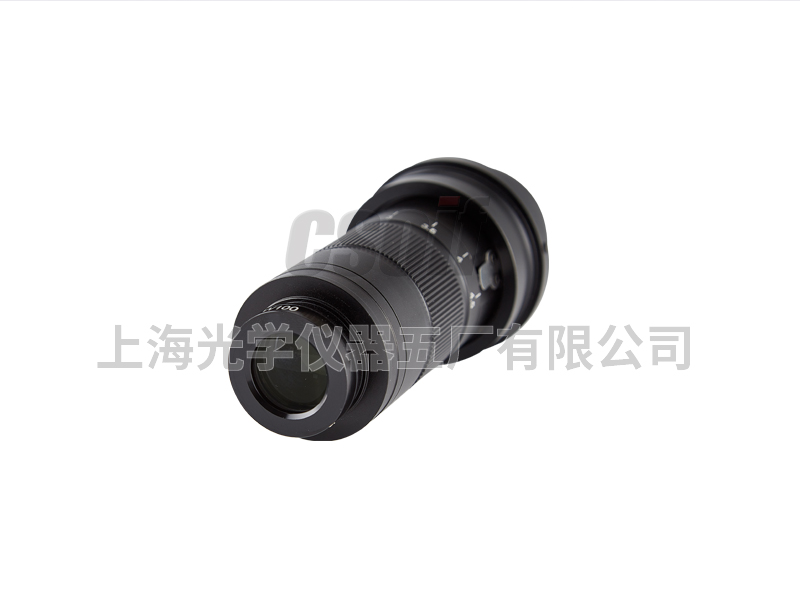
3. Continuous zoom objective
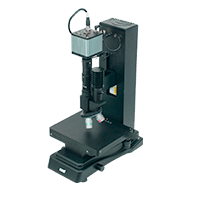
Instrument installation:
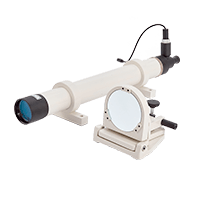
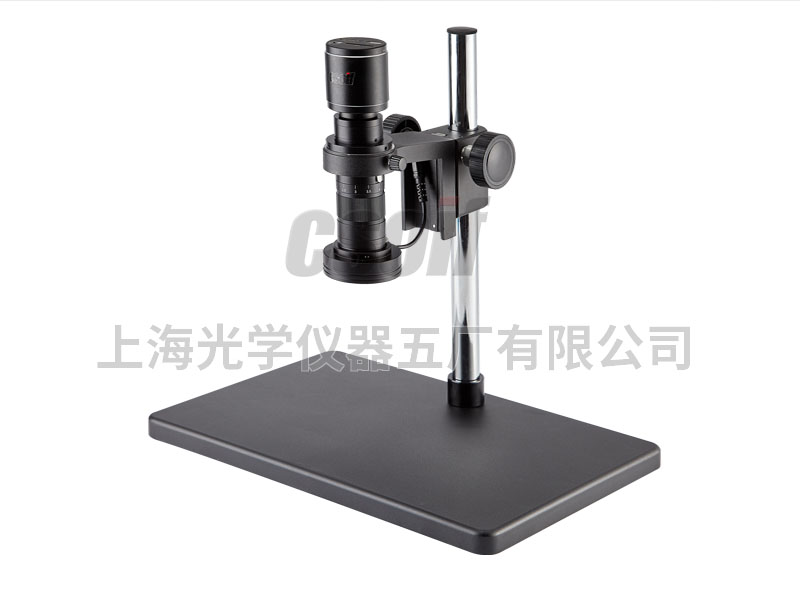
1. The continuous zoom objective lens is installed in the bracket of the bracket and fixed.
2. The adapter lens is screwed into the camera and tightened.
3. Insert the adapter lens screwed into the camera into the continuous zoom objective and fix it (pay attention to the direction of the camera).
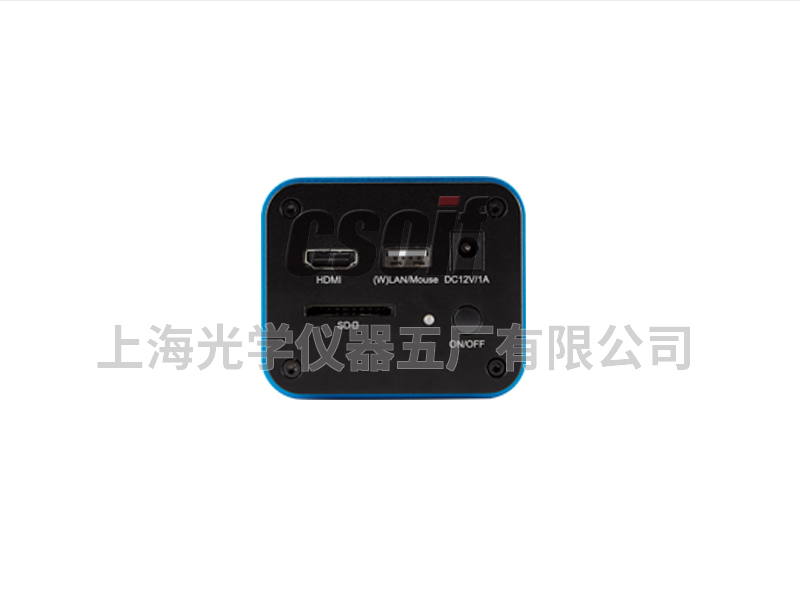
4. Connect the USB or video cable to the monitor.
5. Turn on the power.
6. Turn the zoom handwheel on the continuous zoom objective to adjust the continuous zoom objective to the required magnification.
7. Turn the focus wheel on the stand to make the image clear.
technical parameter:
1. Host parameters
| model | XTZ-4K | |
| Monocular microscope | Optical system | Infinity optical system with coaxial confocal |
| zoom ratio | 1: 6.5 | |
| Objective magnification | 0.7X-4.5X continuous zoom | |
| CMOS connector | 0.5X | |
| Magnification | 24X~154X | |
| working distance | 80mm | |
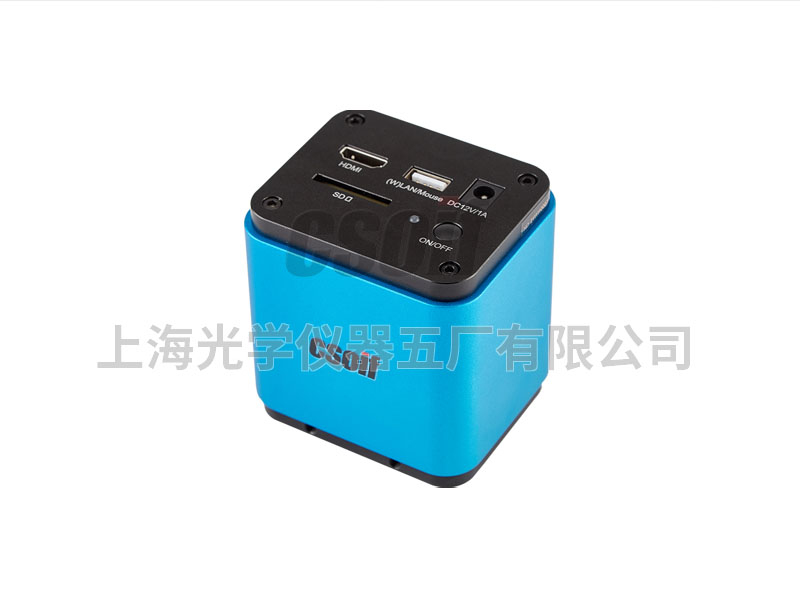
| CMOS | Image Sensor | 1/1.8 |
| pixel | 800w | |
| Resolution | 30@3840*2160(HDMI) 20@3840*2160(USB) | |
| frame rate | 30fps/ 20fps | |
| Image output | HDMI/USB | |
| Image storage | SD card (purchase required) | |
| 10A bracket | Base size | 380*248*23mm |
| Lifting range | 340mm | |
| Focus range | 62mm | |
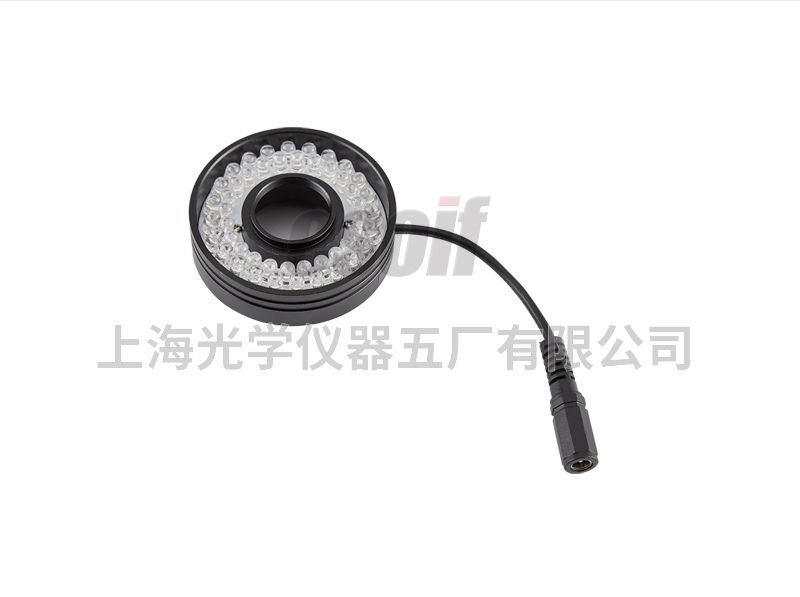
| Light source (lighting system) | LED Ring Light | |
| Software function | Brightness Adjustment, Contrast Adjustment, RGB Tri-color Adjustment, ROI White Balance, Auto Exposure, Exposure Compensation, Sharpening, Noise Reduction, Measurement, Video | |
| Optional | lens barrel | 1x CMOS Adapter |
| Additional objective lens | Additional Objectives: 0.5x 0.75x 1.5x 2x | |
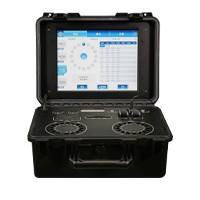
| monitor | 13.3/21.5 inch monitor | |
| light source | Optional polarized ring light source, coaxial lighting module (composed of coaxial illuminator and LED point light source) | |
2. Camera parameters and specifications


②The camera functions are shown in the table below:
| HDMI format output | WiFi | USB to Ethernet | Multi-camera networking | |
| Ö | Ö | ´ | ´ | |
| Ö | Ö | Ö | Ö | |
| Ö | Ö | Ö | Ö | |
Camera software interface and functions


①When the user moves the mouse to the left of the video window, the "Camera Control Panel" will pop up automatically;
②When the user moves the mouse to the bottom of the video window, the "Camera Integrated Control Toolbar" will pop up automatically;
③ Move the mouse to any point near the top middle of the current video window, and the "Measurement Toolbar" will be displayed for measurement and calibration operations. When the user clicks the floating/fixed toggle button on the "Measurement Toolbar", the "Measurement Toolbar" will be anchored. At this time, even if the mouse moves to the left of the video window, the "Camera Control Panel" will not pop up automatically. Only when the user selects the button on the "Measurement Toolbar" to exit the current measurement mode, other operations such as the "Camera Control Panel" or the "Camera Integrated Control Toolbar" toolbar can be performed. During the measurement process, when the user selects a single measurement object, the "object position and attribute control bar" will automatically pop up at the bottom of the video window to change the position and attribute of the measurement object.
| camera control panel | Function | Function description | |||
 | capture | Capture image and save to SD card | |||
| video | Record current video window video and save to SD card | ||||
| auto exposure | Select automatic exposure, the system will automatically adjust the exposure time according to the exposure compensation amount | ||||
| Exposure Compensation | Valid for automatic exposure, drag the slider left and right to perform exposure compensation according to the current image brightness to achieve the appropriate video brightness value | ||||
| exposure time | Valid when auto exposure is not selected, dragging left and right will decrease or increase exposure time, decrease or increase image brightness | ||||
| gain | Adjust the analog gain of the sensor to reduce or increase the brightness of the video, and also reduce or increase the noise | ||||
| red | Drag left or right to decrease or increase the red component in the video | ||||
| green | Green is used as a benchmark and cannot be adjusted by the user | ||||
| blue | Drag left or right to decrease or increase the blue component in the video | ||||
| white balance | Click to perform white balance calculation and adjustment on the video | ||||
| sharpen | Sharpen the current video | ||||
| Noise reduction | Drag left or right to decrease or increase the noise reduction level of the hardware | ||||
| saturation | Decreases or increases the saturation of the current video | ||||
| Gamma | Adjust the gamma of the video; drag the slider to the right to increase the gamma, to the left to decrease the gamma | ||||
| Contrast | Drag the slider to the right to increase the contrast, to the left to decrease the contrast | ||||
| DC | For direct current (DC) light sources, there is no light fluctuation, so there is no need to compensate for light source flicker | ||||
| AC (50HZ) | Single-select AC (50Hz) to eliminate image banding or flicker caused by 50Hz light source | ||||
| AC (60HZ) | Single-select AC (60Hz) to eliminate image banding or flicker caused by 60Hz light source | ||||
| Defaults | Restore all camera control panel settings to the camera's factory defaults |
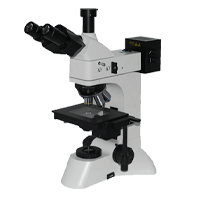
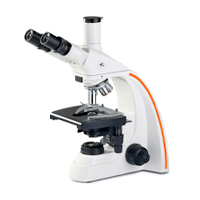
1. Be sure to abide by the operating procedures and operate in strict accordance with the requirements. When taking the microscope application skills, hold the mirror arm with the right hand and the mirror base with the left hand, and place it gently. Do not lift with one hand and swing back and forth to prevent the eyepiece from sliding out.
2. Protect the lens, wipe the audition. Dust or dirt on the objective lens must use a special wipe. Do not wipe with fingers, handkerchiefs, gauze and plain paper.
3. The objective lens must be switched with a converter to avoid lens falling off and damage.
4. When turning the focusing screw of the video microscope, do not use too much force, so as not to damage the parts and adjust the failure.
5. During the microscopic examination, sit up straight, generally use the left eye to investigate the object, and use the right eye to read the experimental newspaper and draw pictures. Both eyes must be opened at the same time to reduce dissatisfaction.