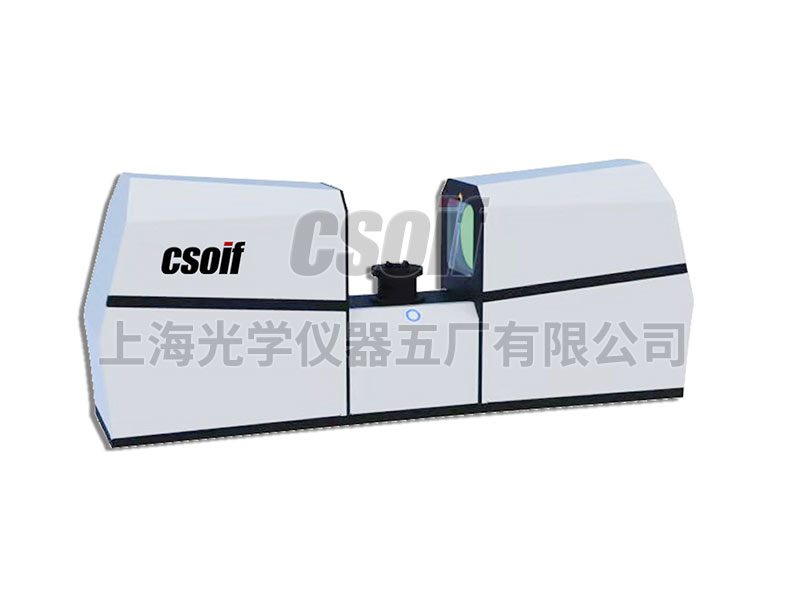
Specifications
| model | FLM90R-088M | FLM90R-088C | FLM90R-016M | FLM90R-016C | FLM90R-03M | FLM90R-03C |
| Platform rotation | manual | automatic | manual | automatic | manual | automatic |
| Range (mm) | 83×63 | 82×55 | 40×30 | |||
| External Dimensions (mm) | 700x200x350 | |||||
| Weight (kg) | 30 | |||||
| Weight (kg) | 3 | |||||
| Image Sensor | 12-megapixel industrial camera | 20-megapixel industrial camera | ||||
| lens | Bi-telecentric optics | |||||
| magnification | 0.088X | 0.16X | ||||
| Measurement accuracy (μm) | ±(3+L/50) *Take the standard block as the tested product | ±(2+L/50) *The standard block is the tested product | ||||
| Minimum display unit (mm) | 0.0001 | |||||
| Depth of Field (mm) | 10 | |||||
| Z-axis working distance (mm) | 120mm | 145mm | 135mm | |||
| light source |
1000-level programmable light source. Contour light: telecentric parallel light source. (Optional, surface light: ring light source, external coaxial light) | |||||
| Image Processing | IVT advanced image analysis method, 256 gray levels, 20:1 sub-pixel processing technology | |||||
| software | IVT-VISION-OneKey | |||||
| working environment | Temperature: 22℃±2℃ Humidity: 30~80% | |||||
|
working environment power supply | Vibration: <0.002mm/s, <15Hz | |||||
| 220V/50Hz | ||||||
characteristics of the instrument
1. Break the traditional measurement tools.
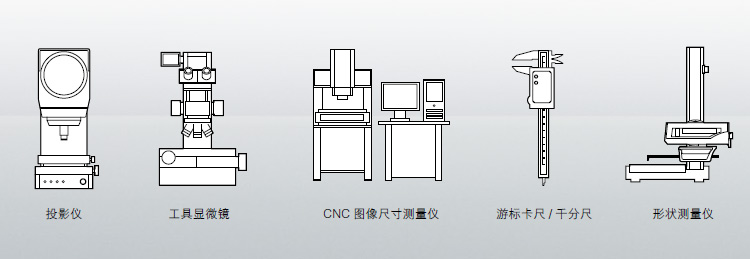
2. Large aperture and high depth of field, to achieve clear imaging and low distortion in the entire field of view.
3. High-resolution cameras, using 12-43 million pixel high-resolution digital cameras.
4. The software adopts advanced 20:1 sub-pixel image edge processing.
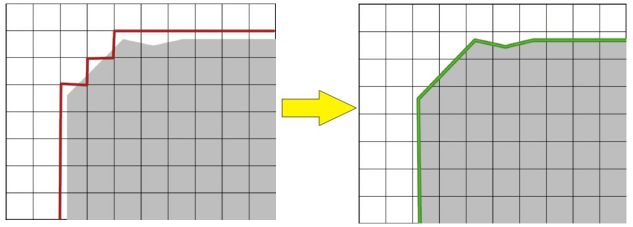
5. The least square regression processing can automatically remove burrs and abnormal points, and the influence on the feature position is reduced to a low point.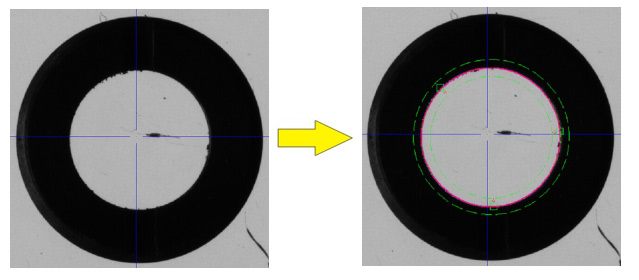
6. Efficient batch measurement Within the measurement range, more than 20,000 dimensions can be measured at one time, and the measurement time of 100 dimensions is less than 1 second, which greatly shortens the measurement time and improves the measurement efficiency.
7. Arbitrary placement of multiple workpieces, automatic identification, batch measurement.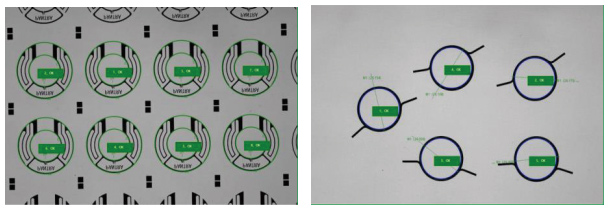
Software Features
Completely independent research and development, the software interface is simple, powerful, and easy to learn; the distortion correction technology independently developed by our company is adopted to ensure stable and accurate measurement results at each position and angle of the field of view; the self-developed image stitching technology ensures that the stitching error is less than 0.003 mm.
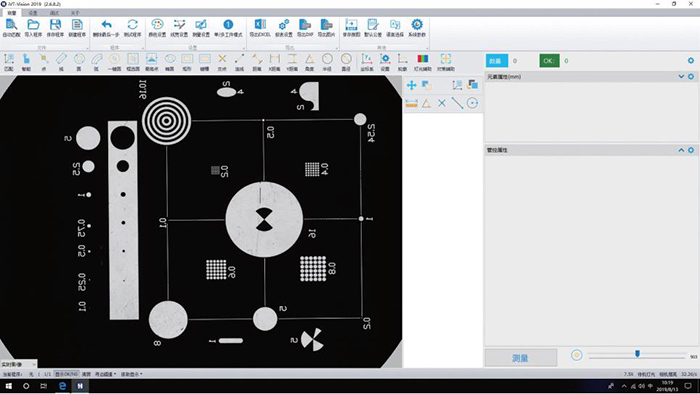
1. Automatically match the workpiece, place it arbitrarily, and measure with one key. A matching search can be performed automatically and the user program can be called up. It can be framed to create a match, multiple positions can be selected to create a match, a measurement element can be used to create a match, and a CAD can be imported to create a match. A program group can be established to realize the measurement of multiple sides of the workpiece.
2. Comprehensive measurement elements:
Point, highest point, line, highest line, circle (center coordinates, radius, diameter, roundness, perimeter, area, maximum radius, minimum radius), arc, rectangle (center coordinates, length, width, perimeter, area ), ellipse (center coordinates, major axis, minor axis, perimeter, area), keyway (center coordinates, length, width, perimeter, area), import CAD contour scan comparison, contour PV, area comparison, cylinder diameter, Sealing ring (calculated radius by perimeter, maximum radius of sealing ring, minimum radius, thickness), recalculation of measurement results (maximum value, minimum value, average value, summation), QR code recognition, barcode recognition.
3. Label:
Distance, X Distance, Y Distance, Radius, Diameter, Angle.
4. Evaluation of shape error:
Straightness and roundness.
5. Position error evaluation:
Parallelism, perpendicularity, symmetry, concentricity, position.
6. Coordinate system conversion
Cartesian coordinates (X, Y) and polar coordinates (R, θ) can be easily selected. The basic unit of measurement value can be instantly converted to mm, inch, mil. Coordinate translation and coordinate rotation to establish the workpiece coordinate system.
7. Measurement data
You can customize the EXCEL template, you can specify the output cells. The software comes with a CPK template, which can calculate Mean, Maximum, Minimum, Cp, Cpkl, Cpku, and Cpk.
8. Others
①Software language: Multiple languages are optional, the language package is open, and translation and modification can be defined.
②The image is shared with the drawing area, what you see is what you get, you can customize: color, line width, font size, background color.
③Focus assist and lighting assist functions to reduce human error.
④Pass/fail (OK/NG), and alarm prompt, voice output: OK, NG.
⑤ The contour can be quickly scanned and exported to CAD for comparison with the original drawing.
⑥ Optional IO card, external trigger measurement and OK NG signal output.
9. SPC:
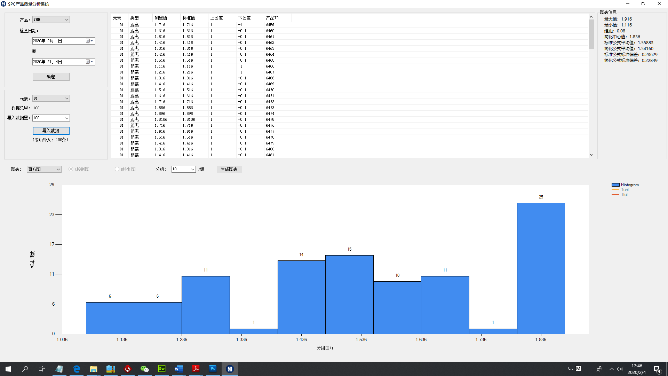
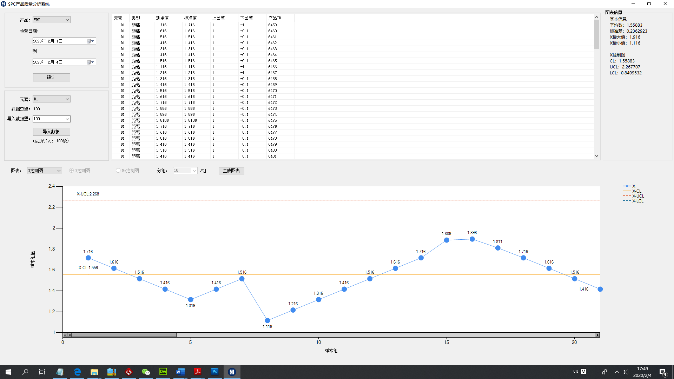
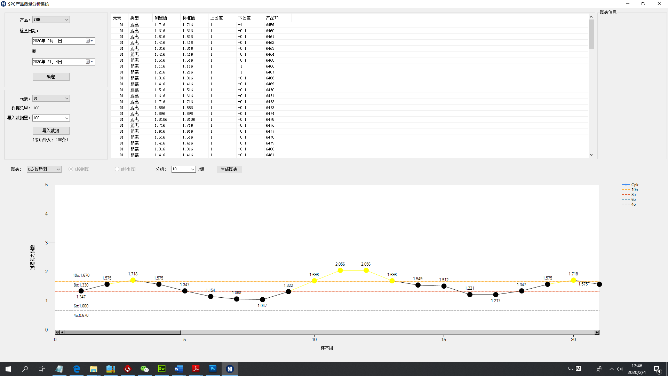
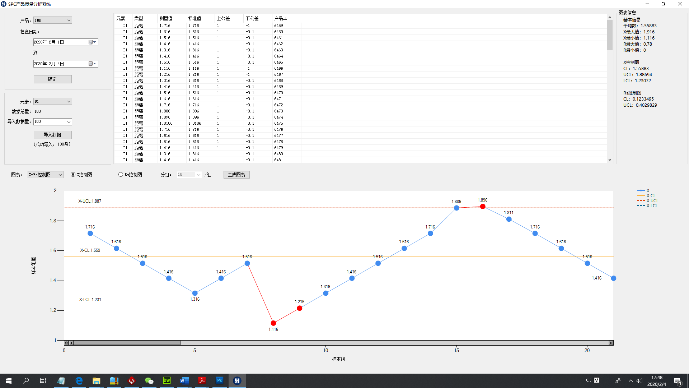
Including: histogram, Cpk trend chart, X control chart, Xbar-R control chart, Xmedian-R control chart, X-Rs control chart.
